Introduction
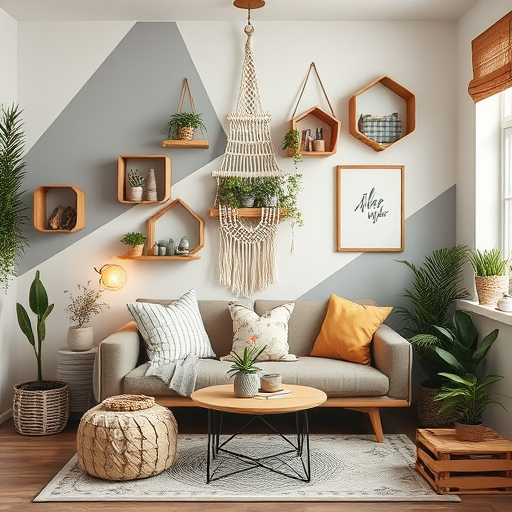
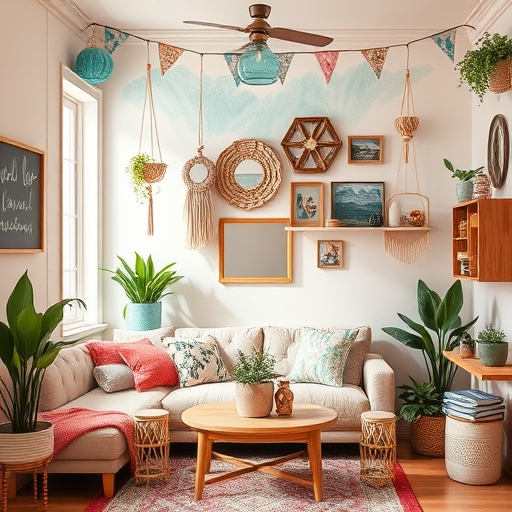
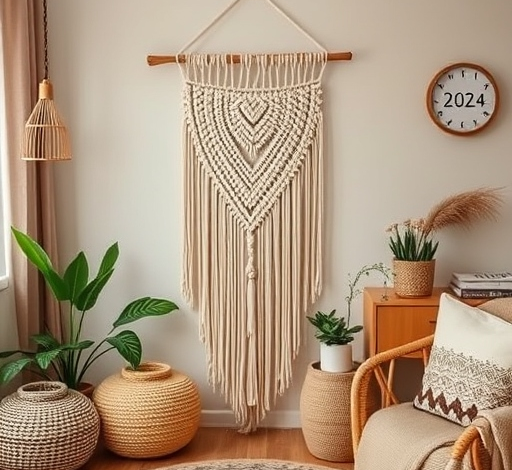
Imagine walking into a room where the walls are adorned with intricate, flowing macramé pieces that exude a sense of calm and bohemian charm. That’s the magic of a well-crafted macramé wall hanging. In this guide, we’ll unravel the mystery behind creating your own boho-chic masterpiece. Whether you’re a seasoned crafter or a newbie, you’ll find everything you need to know right here. So, let’s dive in and create something truly unique!
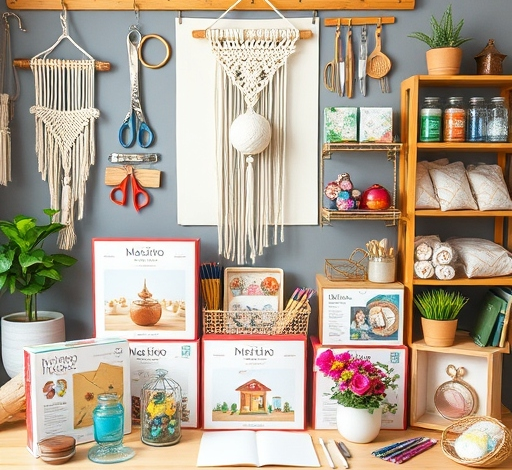
Materials You’ll Need
Before you start, gather these essential materials:
- Macramé cord or rope (preferably cotton for a natural look)
- A wooden dowel or rod (for the top hanging piece)
- Scissors
- A measuring tape
- Optional: beads, tassels, or other decorative elements
Step-by-Step Guide to Creating Your Macramé Wall Hanging

Step 1: Choose Your Knots
Macramé is all about knots, and there are several to choose from. Here are some popular ones for wall hangings:
- Square Knot: The foundation of many macramé projects, perfect for creating a textured look.
- Half Hitch Knot: Great for adding depth and detail.
- Double Half Hitch Knot: Creates a more complex pattern.
Step 2: Prepare Your Base
- Cut your cord: Decide how long you want your wall hanging to be and cut your cords accordingly. A good starting point is 8-10 cords, each about 6 feet long.
- Fold and secure: Fold each cord in half and loop the folded part over your dowel. Pull the ends through the loop and tighten. Repeat this for all cords.
- Arrange: Ensure the cords are evenly spaced and the knots are snug against the dowel.
Step 3: Start Knotting
- Begin with the Square Knot:
- Take the first four cords on the left.
- Tie a square knot by crossing the left cord over the middle two and under the right cord, then repeat on the opposite side.
- Tighten gently.
- Add Variation:
- After a few rows of square knots, mix in half hitch knots or double half hitch knots to add interest.
- You can also space out some cords to create a more asymmetrical, boho look.
Step 4: Add Decorative Elements
- Beads: Slide beads onto individual cords before knotting to add a touch of glamour.
- Tassels: Attach tassels to the bottom for a flowing, ethereal effect.
- Personal Touch: Experiment with different materials like leather or yarn for a unique look.
Step 5: Finish and Hang
- Trim the ends: Once you’ve reached your desired length, trim the ends to even them out.
- Add a hanger: If needed, tie a loop of cord to the dowel for hanging.
- Hang and admire: Choose the perfect spot in your home to showcase your new wall hanging.
Tips for a Perfect Macramé Wall Hanging
- Measure twice, cut once: Ensure your cords are the right length before you start.
- Tighten gently: Over-tightening can make your wall hanging look stiff, so go easy on the knots.
- Experiment: Don’t be afraid to mix and match knots or add your own twists to the design.
Common Mistakes to Avoid
- Using the wrong cord: Synthetic cords can be slippery and harder to knot. Stick with cotton for better grip.
- Overcomplicating the design: Sometimes, simplicity is key. Start with a basic pattern and build from there.
- Not planning the length: Make sure your cords are long enough to accommodate the knots and your desired final length.

FAQs
1. How long does it take to make a macramé wall hanging?
Creating a macramé wall hanging can take anywhere from a few hours to a full day, depending on the complexity of the design and your experience level.
2. Can I use any type of rope for macramé?
While you can use different types of rope, cotton cord is the most popular choice for macramé due to its texture and ease of knotting.
3. Is macramé difficult to learn?
Macramé is a skill that can be learned with practice. Start with simple knots and gradually move on to more complex patterns as you gain confidence.
4. How do I care for my macramé wall hanging?
To keep your macramé wall hanging looking its best, dust it regularly and avoid exposing it to moisture. If needed, hand wash it gently and let it air dry.
5. Where can I buy macramé supplies?
You can find macramé supplies at most craft stores or online. Look for high-quality cotton cord and a variety of decorative elements to personalize your project.
6. Can I make a macramé wall hanging without a dowel?
Yes, you can use a wooden ring or even a metal rod as an alternative to a dowel for the top of your wall hanging.
7. How do I choose the right color for my macramé project?
Consider the color scheme of the room where you’ll hang your macramé piece. Neutral colors like white, beige, or gray work well with most decors, but feel free to experiment with bolder hues.
8. Can I use beads in my macramé wall hanging?
Absolutely! Beads can add a lovely touch of texture and sparkle to your macramé design. Just make sure they’re lightweight and easy to thread onto your cords.
Conclusion
Creating a DIY boho-chic macramé wall hanging is a fun and rewarding project that can add a unique touch to your home decor. With the right materials, a bit of patience, and a willingness to experiment, you can craft a piece that reflects your personal style. So, grab your cords, pick your knots, and let your creativity flow!